by
Jeffrey Herman
ABOUT THE AUTHOR
JEFFREY HERMAN was just elected into the
prestigious Fellow category of the Institute of
Professional Goldsmiths in England. He's the only
Fellow living outside England. Herman was nominated
by three other Fellows of the IPG, and humbled that
these Fellows felt him worthy of this honor.
This is his 30th year in business operating as a
silversmith specializing in restoration,
conservation, and preservation, and 25th year as the
Founder of the Society of American Silversmiths
(SAS).
Jeffrey Herman worked at Gorham as designer, sample
maker, and technical illustrator. Upon leaving
Gorham, he took a position at Pilz Ltd where he
learned the fine art of restoration, and fabricated
mass-produced ecclesiastical ware. He earned a BFA
degree in silversmithing and jewelry making from
Maine College of Art in Portland, studying under
Harold Schremmer and Ernest Thompson, two
outstanding designer/craftsmen. He started his
business in 1984 gaining a national reputation of
quality craftsmanship repairing and reconstructing
everything, from historical pieces to single spoons.
Further details about Jeffrey Herman and information
contact are available in his website at
http://www.hermansilver.com
|
(click on photos to enlarge image)
THE BEAUTY OF PULSE ARC WELDING
As any silversmith
knows, silver solder is the ideal material to
use when joining sterling pieces by the
traditional method of brazing. Sometimes I will
receive an object which has been lead-soldered
in the area in need of repair (or re-repair).
Sometimes the joined area is not visually
accessible, and I don't know if lead has been
used.
In either case, I cannot use silver solder
because the high temperature required will melt
any lead in the joint and allow it to form its
own alloy with the silver. Not pretty! And,
using a low temperature tin/silver solder won't
give me a sound joint or good silver color.
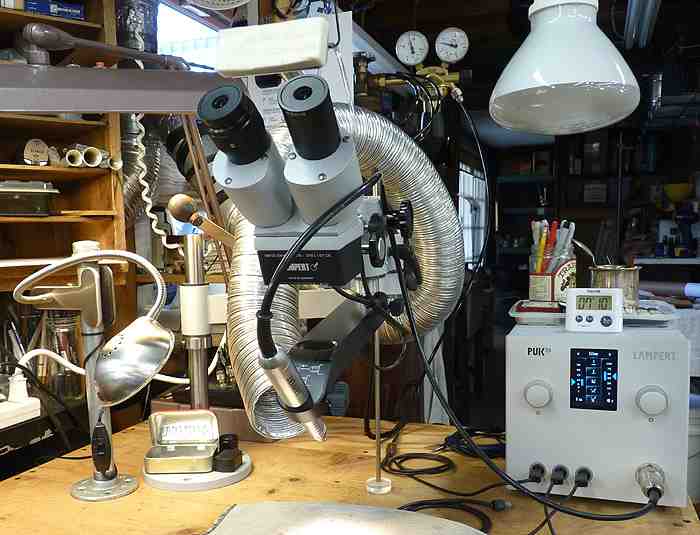
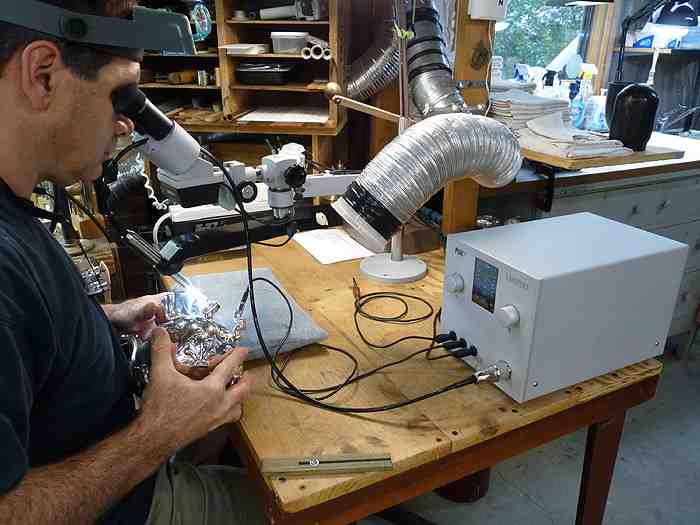
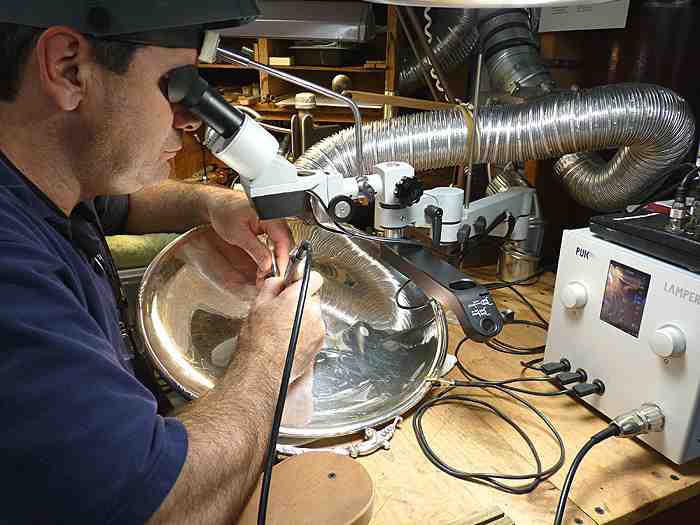
For this reason, I use the German-made Lampert
PUK 3s Professional Plus pulse arc welder. Pulse
arc welding allows me to use solid sterling wire
for a perfect color match (silver solders
contain less fine silver than sterling).
|
The pulse arc welding
principle: Non-toxic argon gas is pumped through
a handpiece and engulfs the welding area with a
protective atmosphere to eliminate firestain. An
electric arc (energy flow) is created from the
point where the electrode touches the workpiece.
As the electrode retracts, the arc is drawn up
from the point of contact. Exactly here, melting
occurs, and the result is a clean and stable
weld.
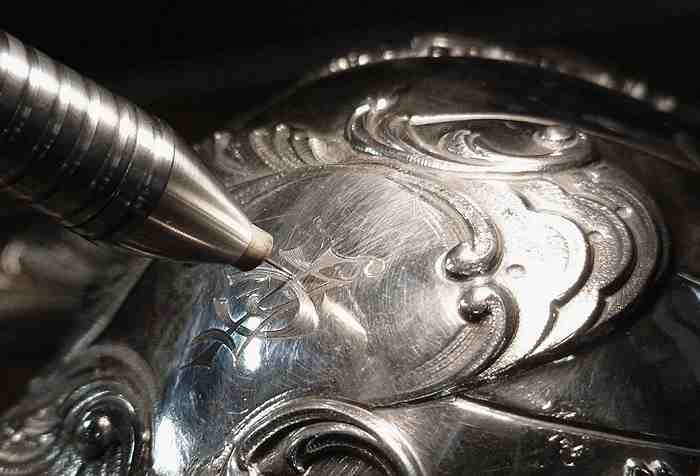
The high degree of precision is made possible by
touching the workpiece with the tip of the
electrode. The electrical arc necessary for
welding is thus generated from exactly this
point. By varying the angle at where the
electrode tip touches, welds can be accurately
steered in the desired direction and previously
applied metal "distorted" or modeled. The heat
is so localized that I can handle the object
without getting burned, even at 1,640 degrees -
the melting point of sterling!
|
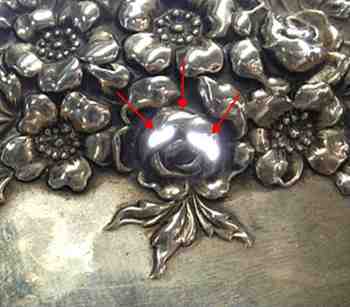
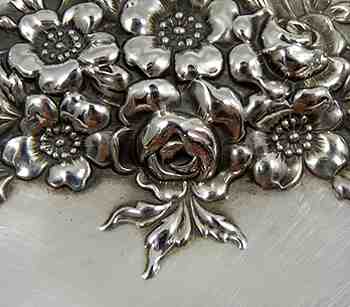
This 5 1/2" Wallace
sterling cut glass jar cover was stamped and spun
out of extremely thin material.
The image on the left shows light coming through
three areas of a flower as well as other areas on
the piece.
These areas were worn through from over polishing.
The edges of the open spaces were the approximate
thickness of a piece of tin foil.
The PUK worked beautifully, and I used .25mm
sterling wire for a perfect color match.
|
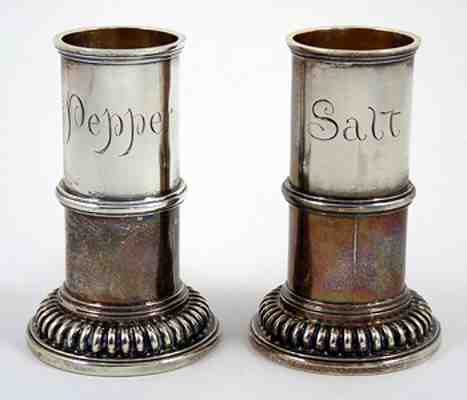
Someone had the clever
idea to engrave these 1730 caster bodies with "salt"
and "pepper". (The tops were left off to show a
larger area of the engraving.)
Engraving the function of these pieces is certainly
not something I would have done, but to each his own.
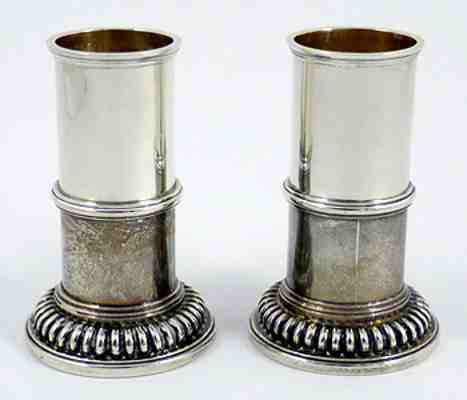
Since the engraving was too thin to remove by filing,
I used sterling wire and the PUK to fill it in.
When I photographed the "after" image I had not yet
polished the bottom sections of the casters (and the
change in the tarnish color is due to the casters
handling while welding). The total time it took to
fill in the engraving, repatinate, and hand finish
the casters was three hours.
|
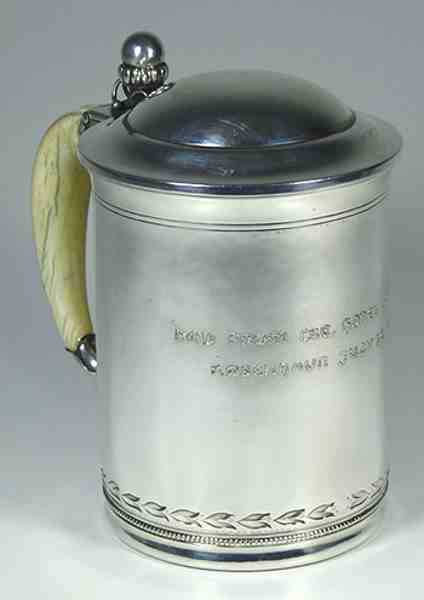
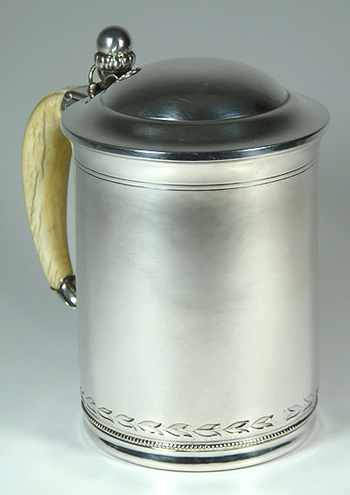
This rare Jensen piece
shows chased lettering that I filled in with
sterling (left). The image on the right shows the
finished job. A few pin pricks were left to blend
with the rest of the surface. If this hadn't been
done, the filled surface would have looked too
refined.
|
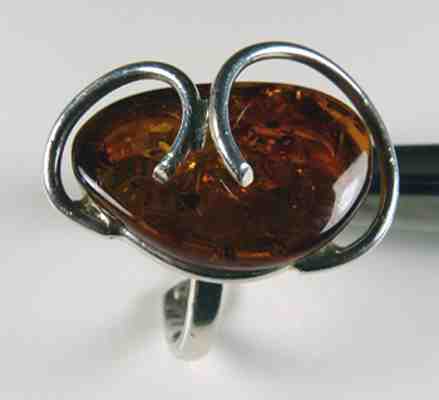
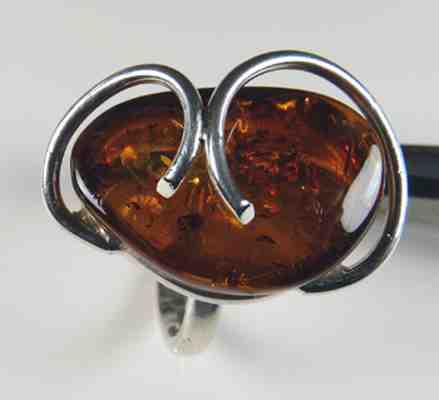
This ring's amber was
glued onto the setting with decorative wires above,
only 1/16" from the stone.
As you can see in the image on the left, the wires
had come apart. Since I couldn't remove the stone, I
had to weld the wires back together with the stone
in place.
Here's the process I used: I pried open the wires
and removed the silver solder. The wires were then
sprung back together.
I slid index card stock between the wires and the
amber to prevent the stone from burning during
welding.
The wires were then welded together with sterling
filler wire.
|
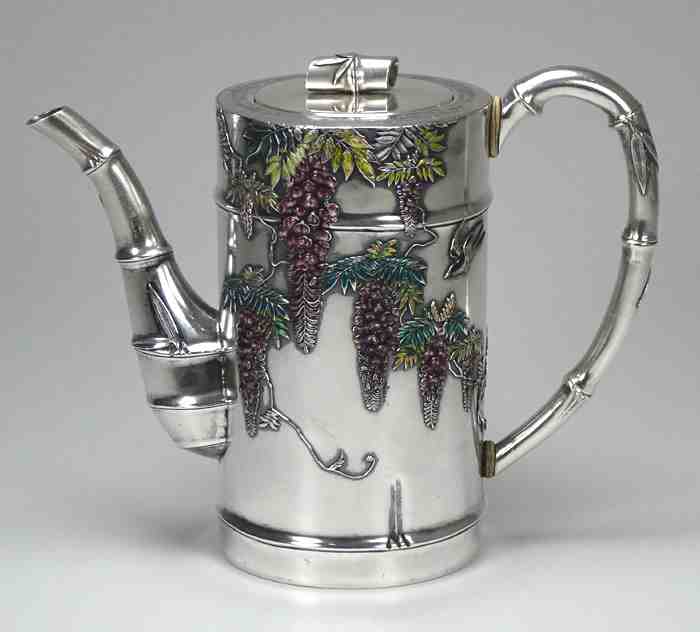
This Meiji-era teapot
needed its handle secured and its dents removed from
the single-walled body, double-walled cover, and
removable tea strainer that sits under the cover.
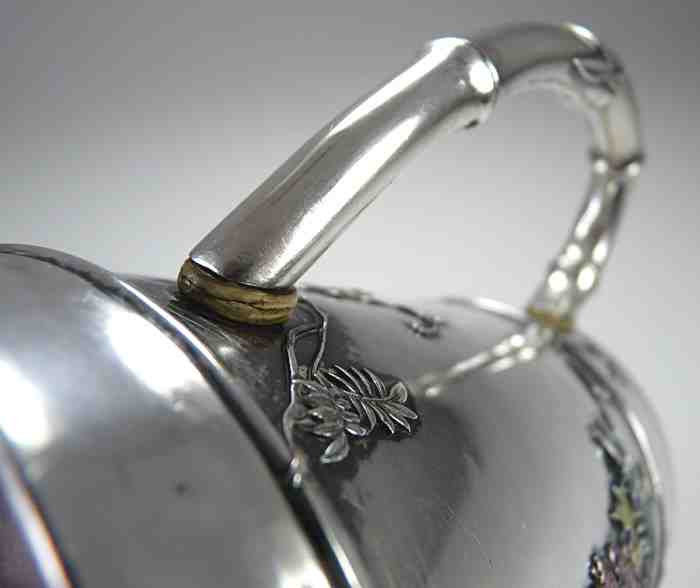
There had been a rod extending through both ivory
insulators. One end was hard soldered to the handle
and the other was peened over on the inside of the
pot. Over time, this assembly loosened.
I removed both rods then welded new ones to the
body, covering the holes.
I then drilled holes through the handle for the rods
to extend and countersunk the holes.
After I reinstalled the insulators over the rods, I
attached the handle with the rods protruding through
the holes.
I then pulsed down over the rods, spreading the
silver into the countersinks and securing all parts
for an undetectable repair.
|
|
|

